Underfloor heating systems provide a comfortable and efficient way to heat your home. By installing either electric or water underfloor heating, you can achieve consistent warmth and reduce energy costs. This guide will walk you through the steps required to install both types of systems, helping you determine which one is best suited for your needs and ensuring a successful installation process.
Understanding Underfloor Heating Systems
Electric Underfloor Heating
Electric underfloor heating systems use electrical cables or mats to generate heat. They are typically easier and quicker to install than water-based systems and are ideal for smaller areas or retrofit projects. The electric system consists of a heating element, a thermostat, and insulation materials to maximize efficiency.
Water Underfloor Heating
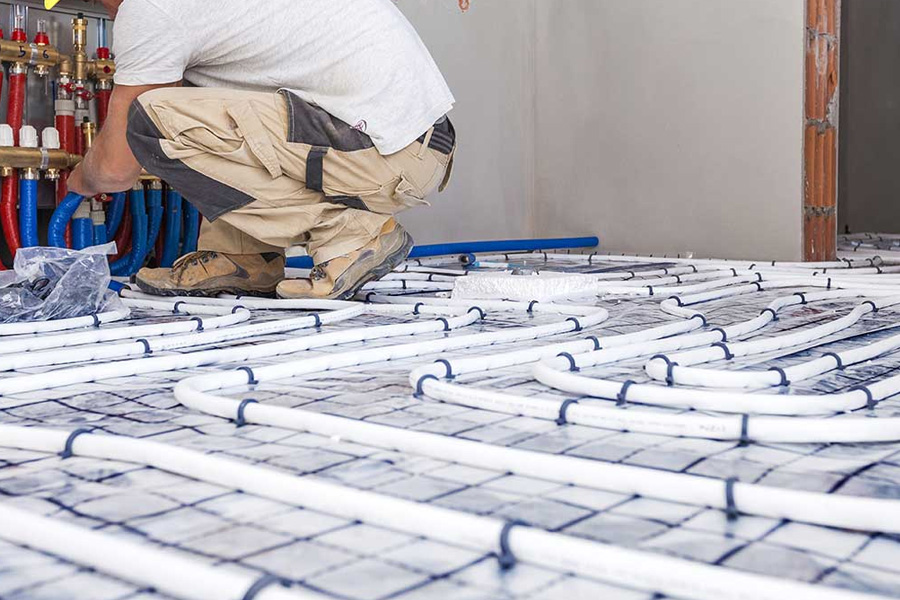
Water underfloor heating systems, also known as hydronic systems, use warm water circulated through a network of pipes beneath the floor. This type of system is usually more energy-efficient and suitable for larger areas. It requires a boiler or heat pump to heat the water, a manifold to distribute it, and a series of pipes to transport the water throughout the floor.
Preparing for Installation
Assessing Your Needs
Before beginning the installation process, assess your heating requirements. Consider factors such as the size of the area to be heated, the type of flooring, and your budget. Electric systems are cost-effective for small to medium spaces, while water systems are more suitable for larger areas and new builds.
Gathering Materials and Tools
For electric underfloor heating, you will need:
– Heating mats or cables
– Thermostat
– Insulation boards
– Adhesive tape
– Multimeter (for testing)
For water underfloor heating, you will need:
– PEX or multilayer pipes
– Manifold
– Insulation boards
– Pipe clips
– Boiler or heat pump
Additionally, you will need general tools such as a measuring tape, utility knife, and a spirit level.
Installing Electric Underfloor Heating
Step 1: Preparing the Subfloor
Start by cleaning the subfloor to remove any debris or dust. Ensure the surface is level and free from moisture. Install insulation boards to enhance the system’s efficiency and prevent heat loss.
Step 2: Laying the Heating Mats or Cables
Unroll the heating mats or cables and lay them out according to your heating plan. Avoid placing them under fixed furniture or appliances. Secure the mats or cables with adhesive tape, ensuring they are evenly spaced and do not overlap.
Step 3: Connecting the Thermostat
Install the thermostat according to the manufacturer’s instructions. Typically, this involves connecting the heating element to the thermostat using the provided wiring. Ensure all connections are secure and use a multimeter to test the electrical continuity.
Step 4: Applying the Flooring
Once the heating elements and thermostat are in place, you can proceed to lay your chosen flooring material. Ensure the flooring is compatible with underfloor heating and follow the manufacturer’s guidelines for installation.
Step 5: Testing the System
Before fully utilizing the system, test it to ensure it functions correctly. Set the thermostat to a low temperature and gradually increase it, checking for any irregularities or issues. Allow the system to run for a few hours to confirm consistent heating.
Installing Water Underfloor Heating
Step 1: Preparing the Subfloor
As with electric systems, begin by cleaning and leveling the subfloor. Lay insulation boards to improve energy efficiency and prevent heat loss.
Step 2: Installing the Manifold
The manifold is the central hub of your water underfloor heating system. Install it in a convenient location, typically in a utility room or cupboard. Connect the manifold to the boiler or heat pump, following the manufacturer’s instructions.
Step 3: Laying the Pipes
Start laying the pipes according to your heating plan. Use pipe clips to secure the pipes to the insulation boards, maintaining an even spacing pattern. Avoid sharp bends and ensure the pipes do not cross over each other.
Step 4: Connecting the Pipes to the Manifold
Once the pipes are laid, connect them to the manifold. Each pipe will have a designated port on the manifold, corresponding to its location on the floor. Secure the connections and check for any leaks.
Step 5: Filling and Testing the System
Fill the system with water and bleed any air from the pipes using the manifold’s bleed valves. Once the system is full, test it by gradually increasing the water temperature. Monitor for any leaks or issues and ensure the system heats evenly.
Step 6: Applying the Flooring
After testing, you can proceed with laying the flooring. Ensure the flooring is suitable for use with water underfloor heating systems. Follow the manufacturer’s installation guidelines and take care not to damage the pipes during the process.
Maintenance and Troubleshooting
Regular Maintenance
Both electric and water underfloor heating systems require minimal maintenance. Regularly check the thermostat and ensure it is functioning correctly. For water systems, periodically inspect the manifold and bleed any air from the pipes.
Troubleshooting Common Issues
If your system is not heating properly, check the thermostat settings and ensure there are no issues with the electrical connections or water flow. For electric systems, use a multimeter to test for continuity. For water systems, inspect the manifold and pipes for leaks or blockages.
Conclusion
Installing underfloor heating can significantly enhance the comfort and efficiency of your home. By following this step-by-step guide, you can successfully install either an electric or water underfloor heating system, tailored to your specific needs. Proper planning, careful installation, and regular maintenance will ensure your system provides reliable and efficient heating for years to come.


 How to Get Rid of Musty Odours in Your Basement
  Roofing Repair in Harrisburg: Protecting Homes Through Quality and Care
 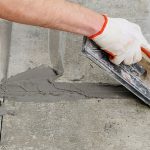 Restoring Strength and Safety with Expert Concrete Repair in Marion
 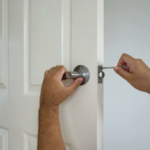 Locked Out? How Total Security Locksmith Handles Emergency Lockout and House Lock Services with Ease
  How Takara Standard Kitchens in Singapore Evolve With Every Milestone
  The Hidden Benefits of Serviced Apartments for Rent in Singapore
  Top 5 Benefits of Installing Roller Blinds in Singapore Homes
  DIY Log Cabin Christmas Decorations on a Budget
  Why Homeowners Choose LUKA Design and Build for Timeless Architecture and Modern Function